
A lot of resources are available today when it comes to DIY Food Photography background. I learned a lot from my mistakes, and have upped my game continuously with every new setup. I started with a white backdrop made out of foamboard bought by my husband from a stationery shop. And to be honest, I still keep one.

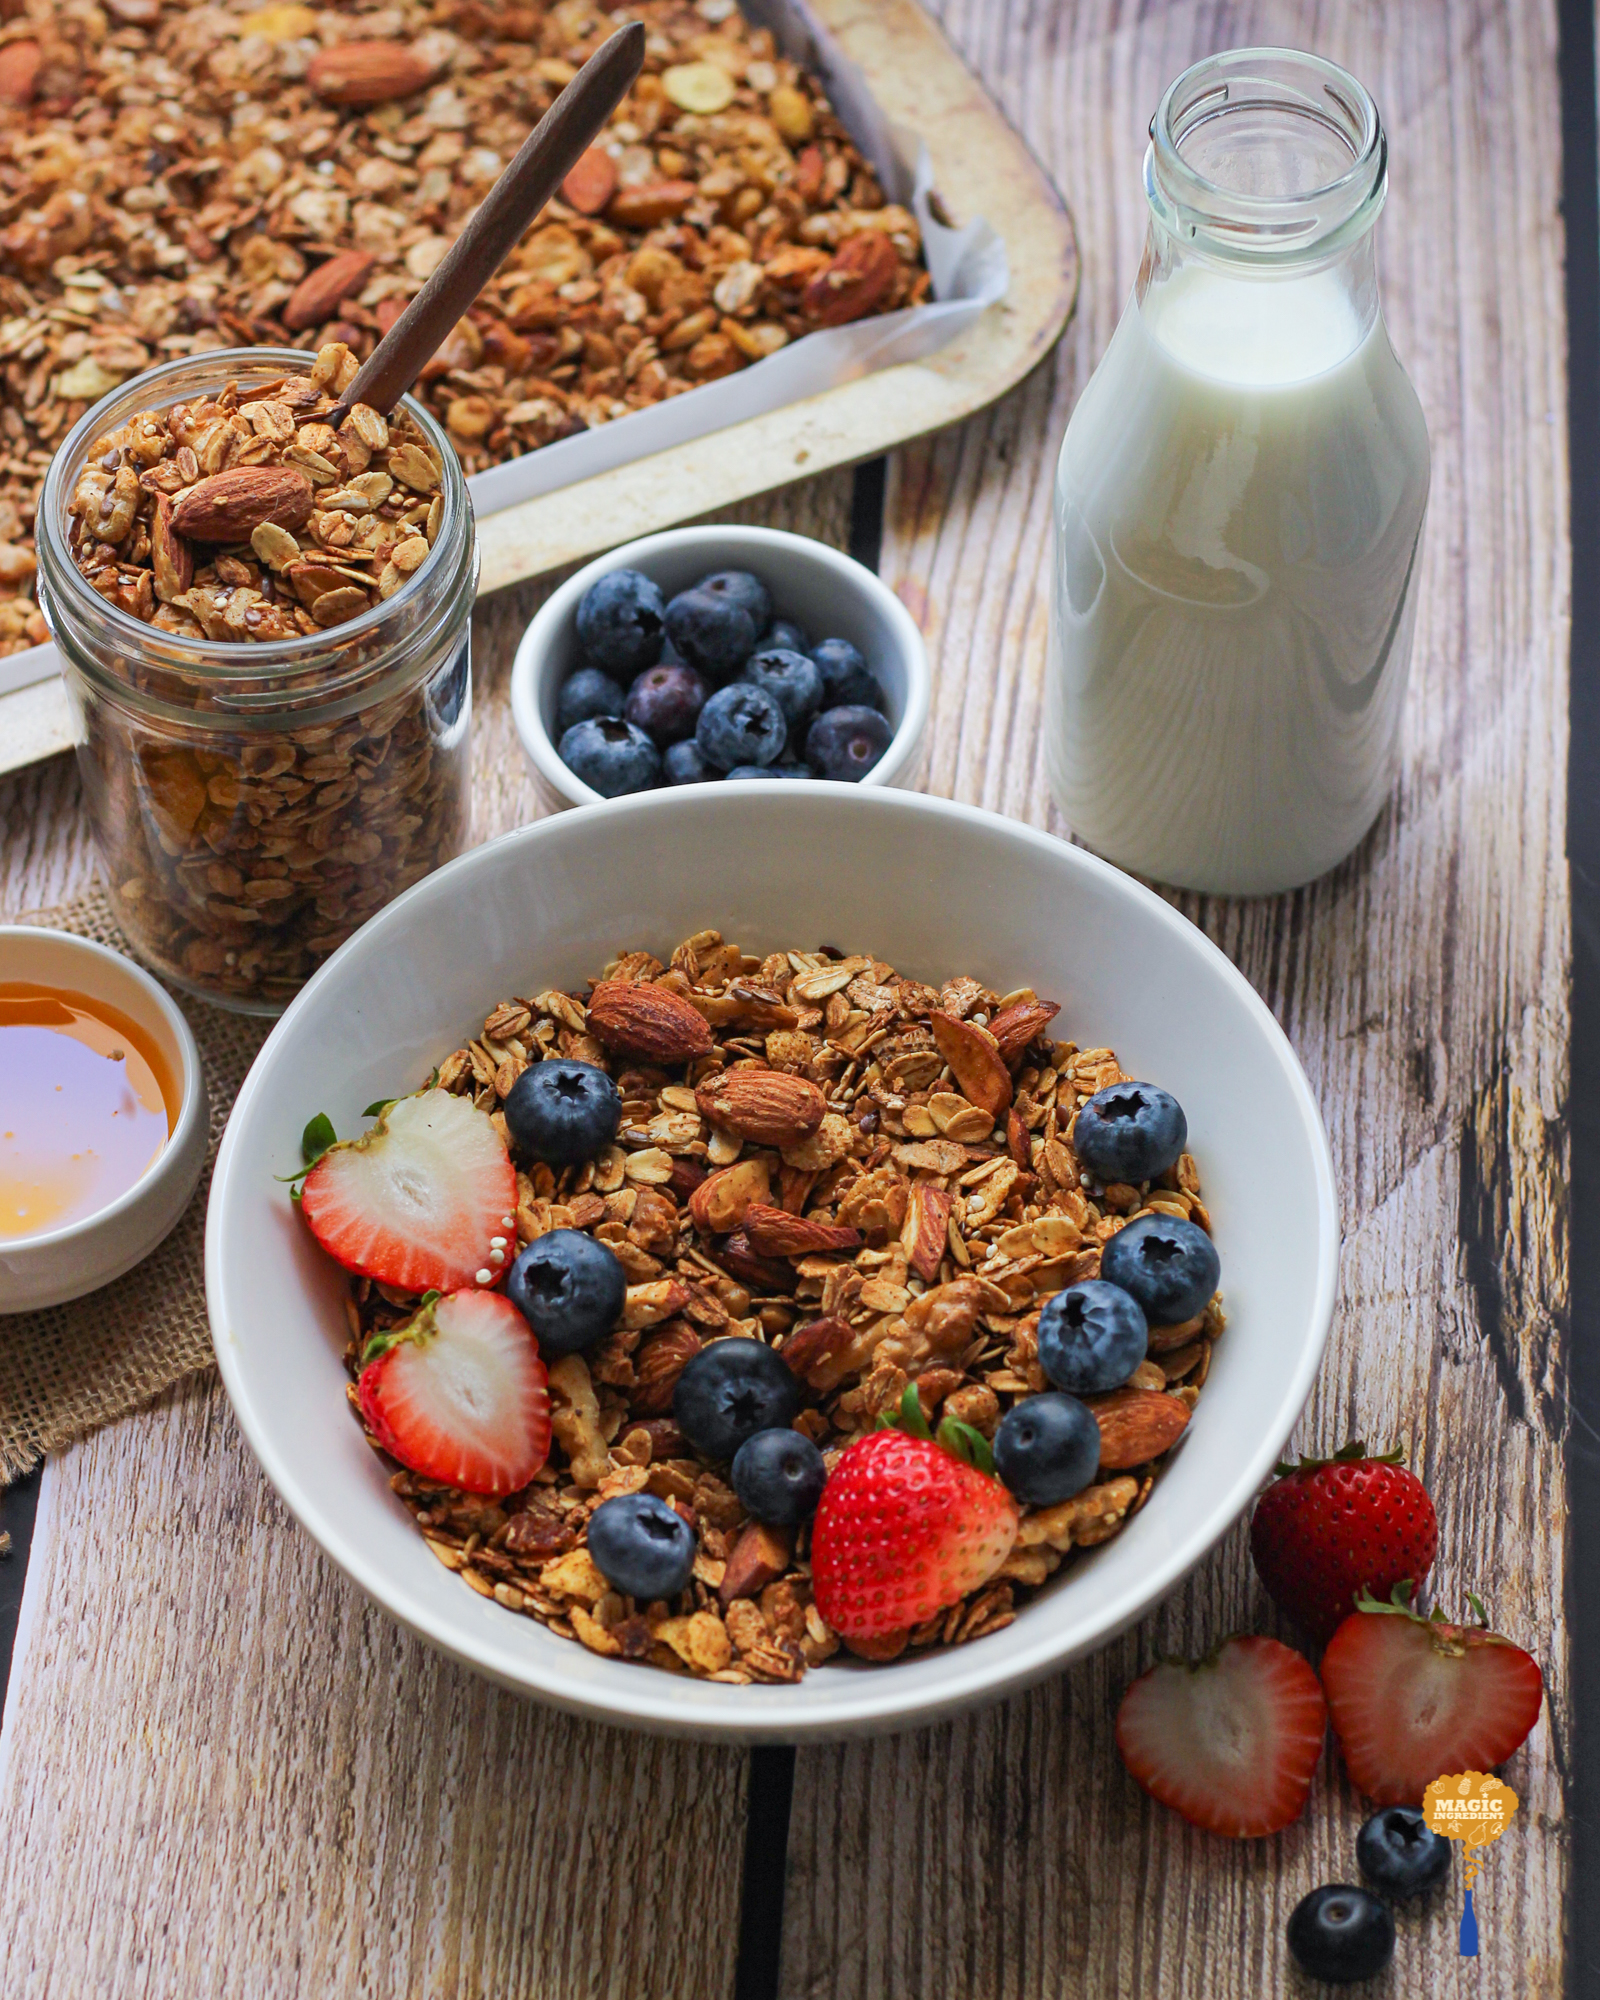
While checking online videos on DIY boards, I came across one that seemed pretty doable. However, the outcome was not up to my expectations. Then I came across a discarded tabletop. I used plaster of Paris to create my first textured board. I still use it. Next, I retained the wooden planks under our old bed to create a plain wood board. After a little more research, I finally own my essential collection of backdrops.
If you have the resources and space, you can go ahead and keep experimenting with new backdrops. However, if you are a beginner and need some quick solutions without losing out big bucks, my tips could help you.
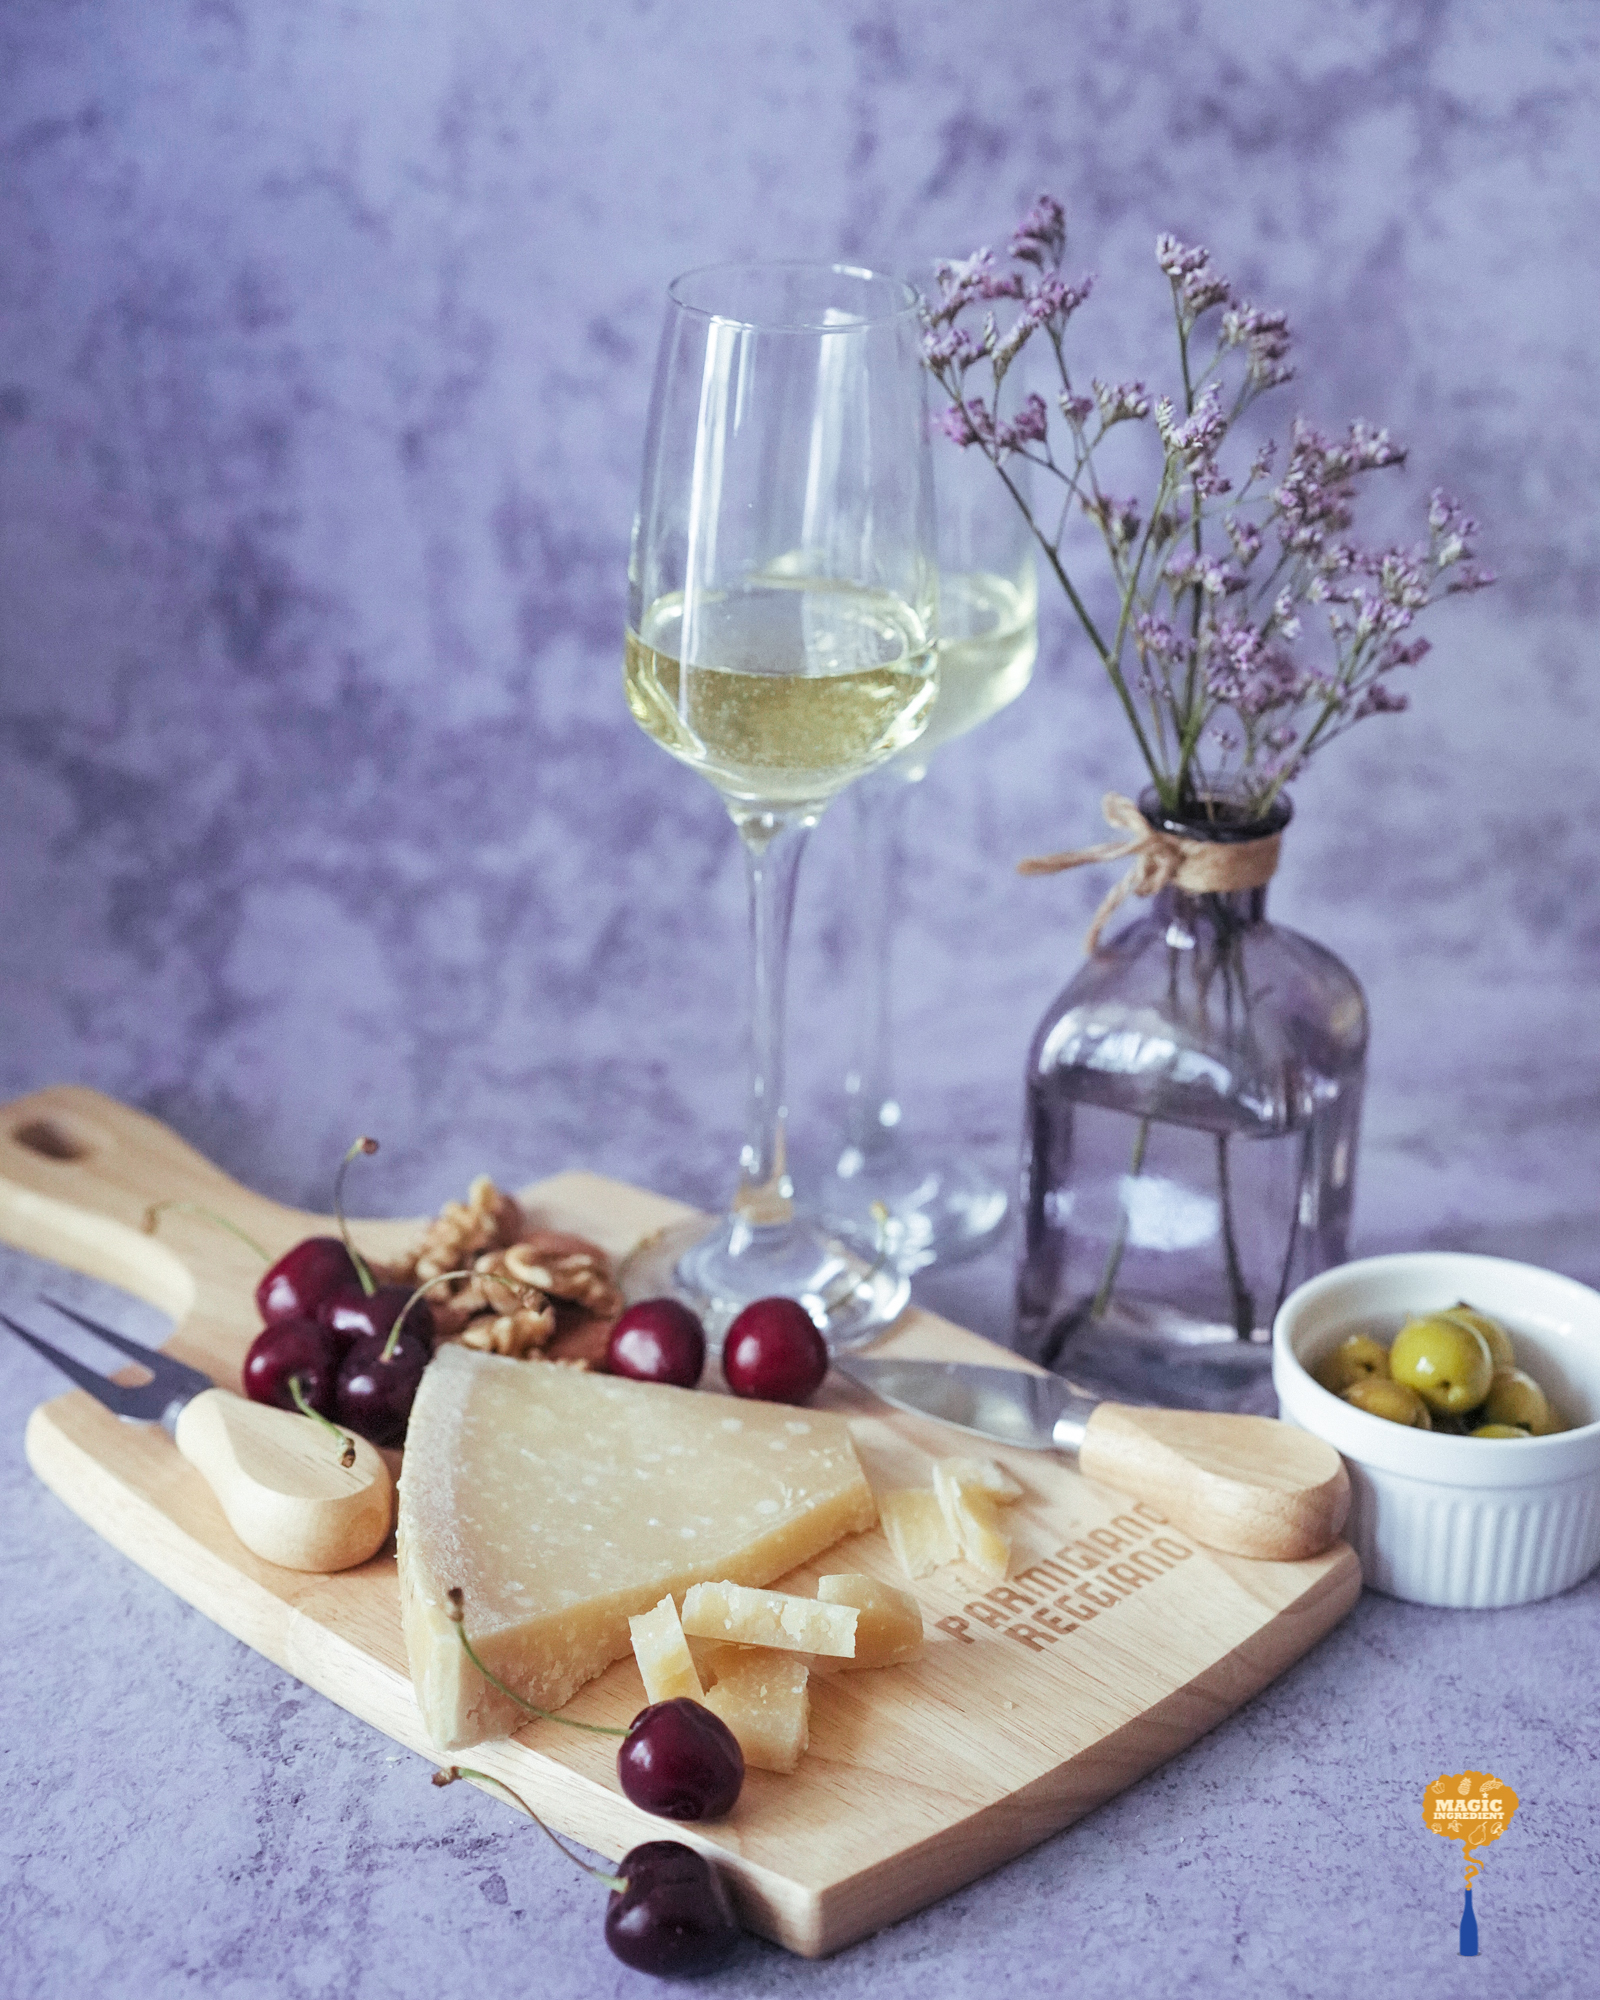
I would suggest a basic textured white and/or blackboard, one metallic and one wooden is good enough to get you started. I got the metallic backdrop printed on an A3 sheet on a good quality paper. It cost me a lot, but I did it after a lot of thought.
Now how do I decide which backdrop to choose?

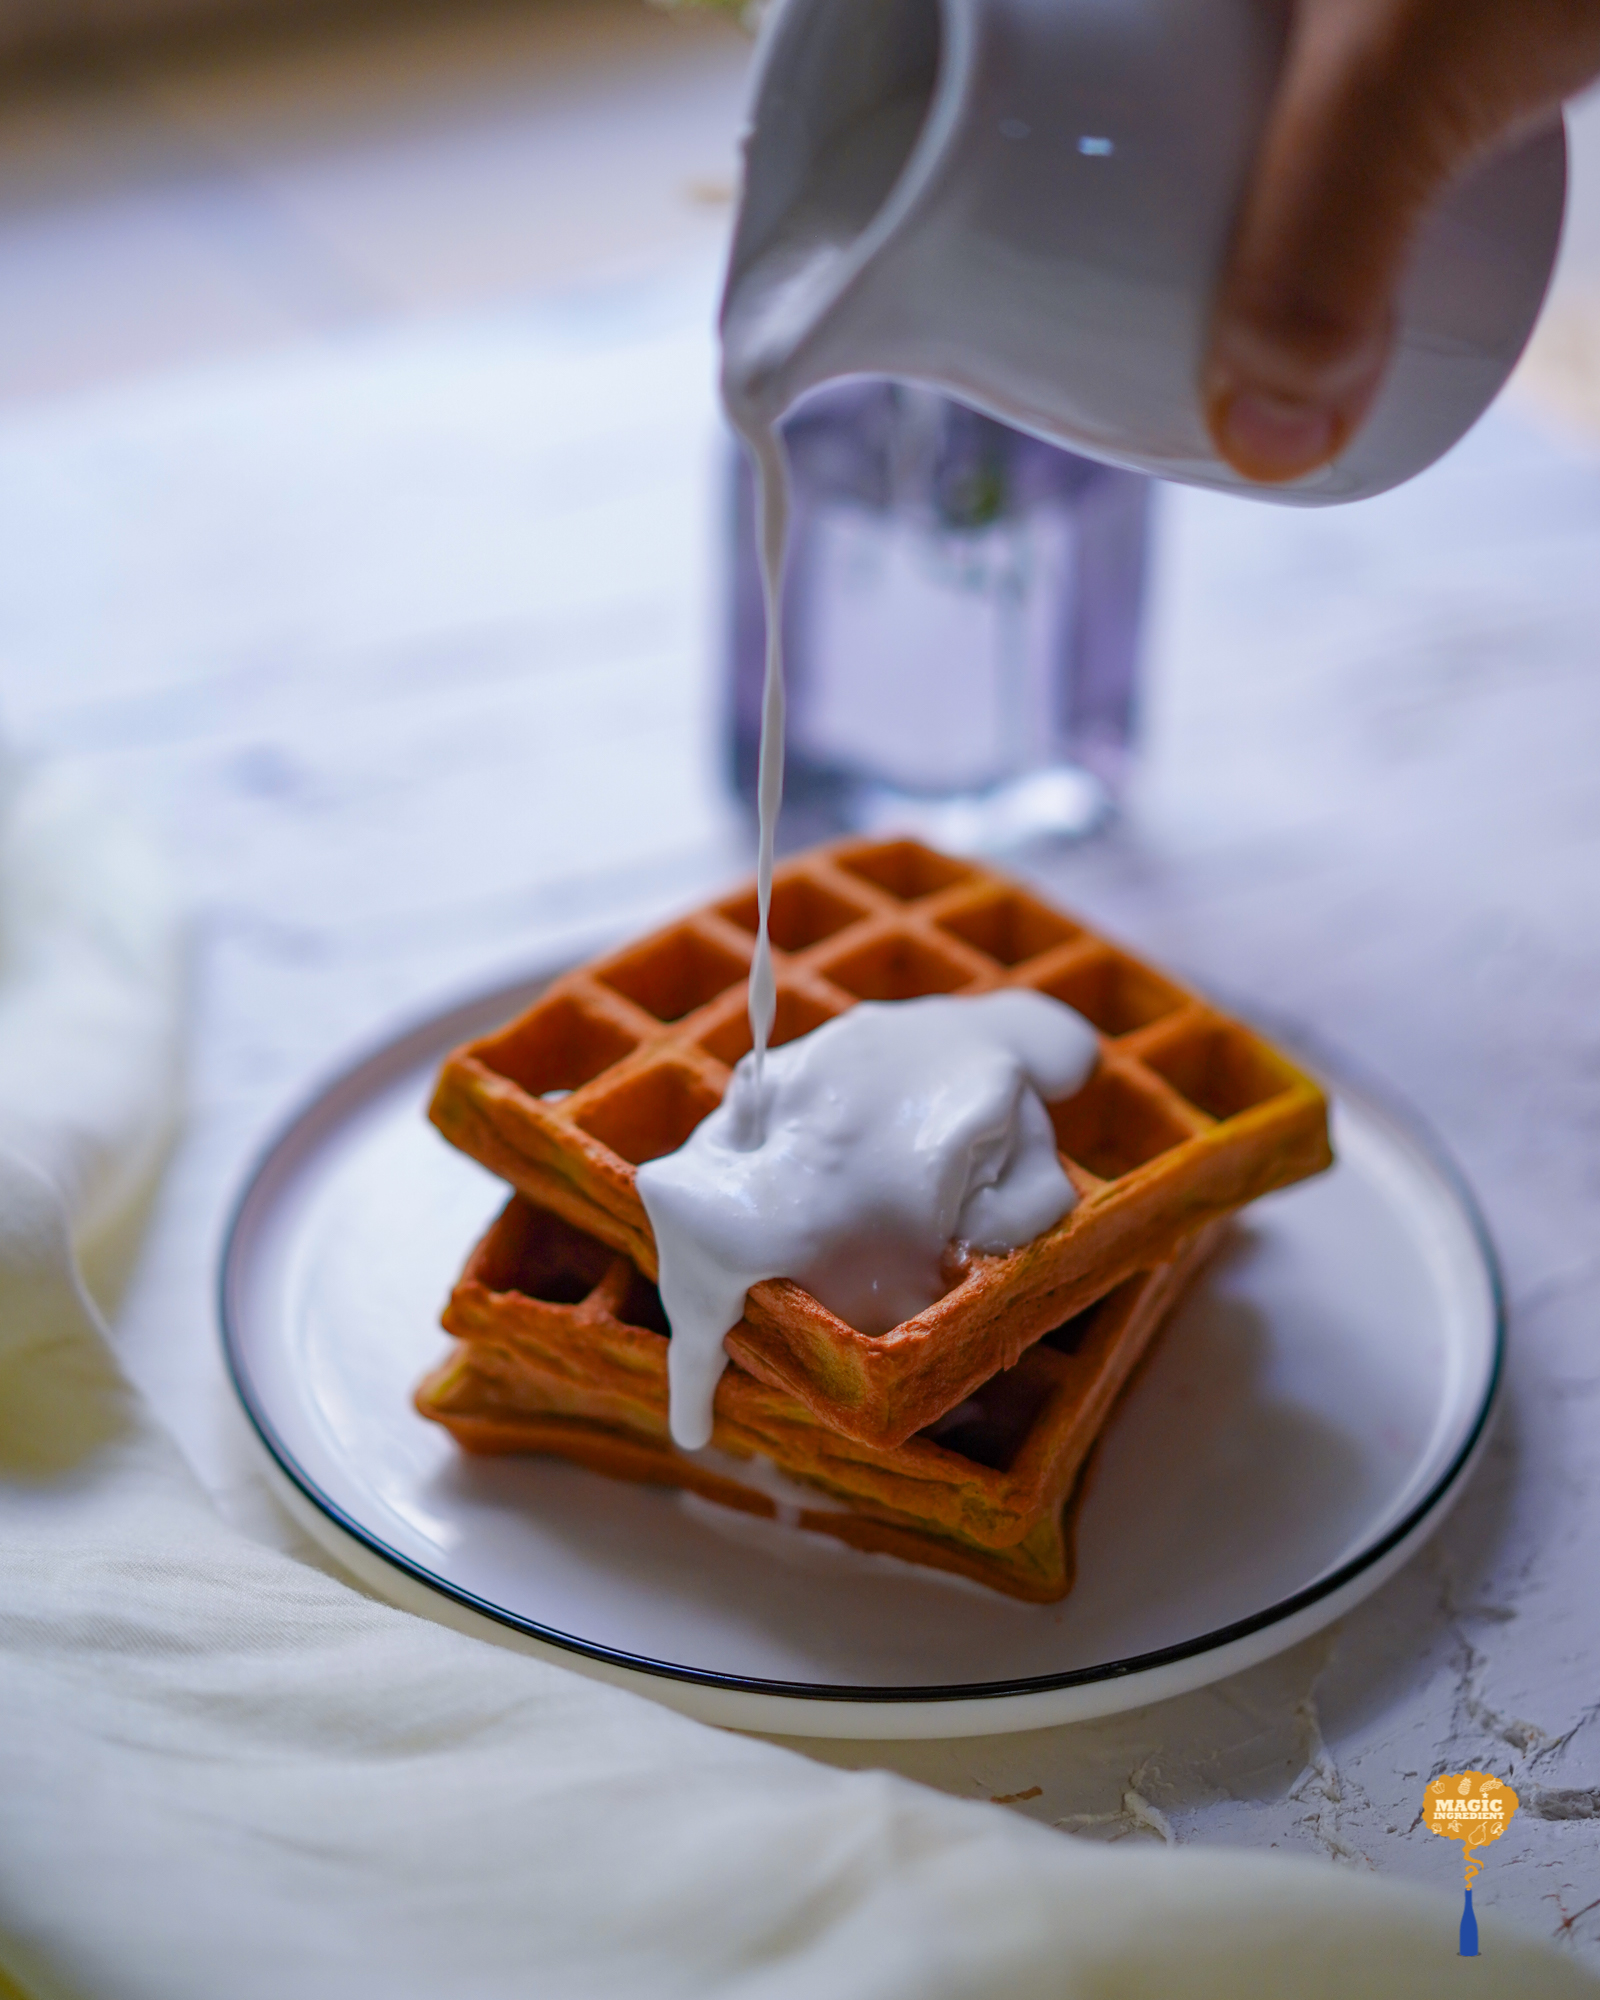
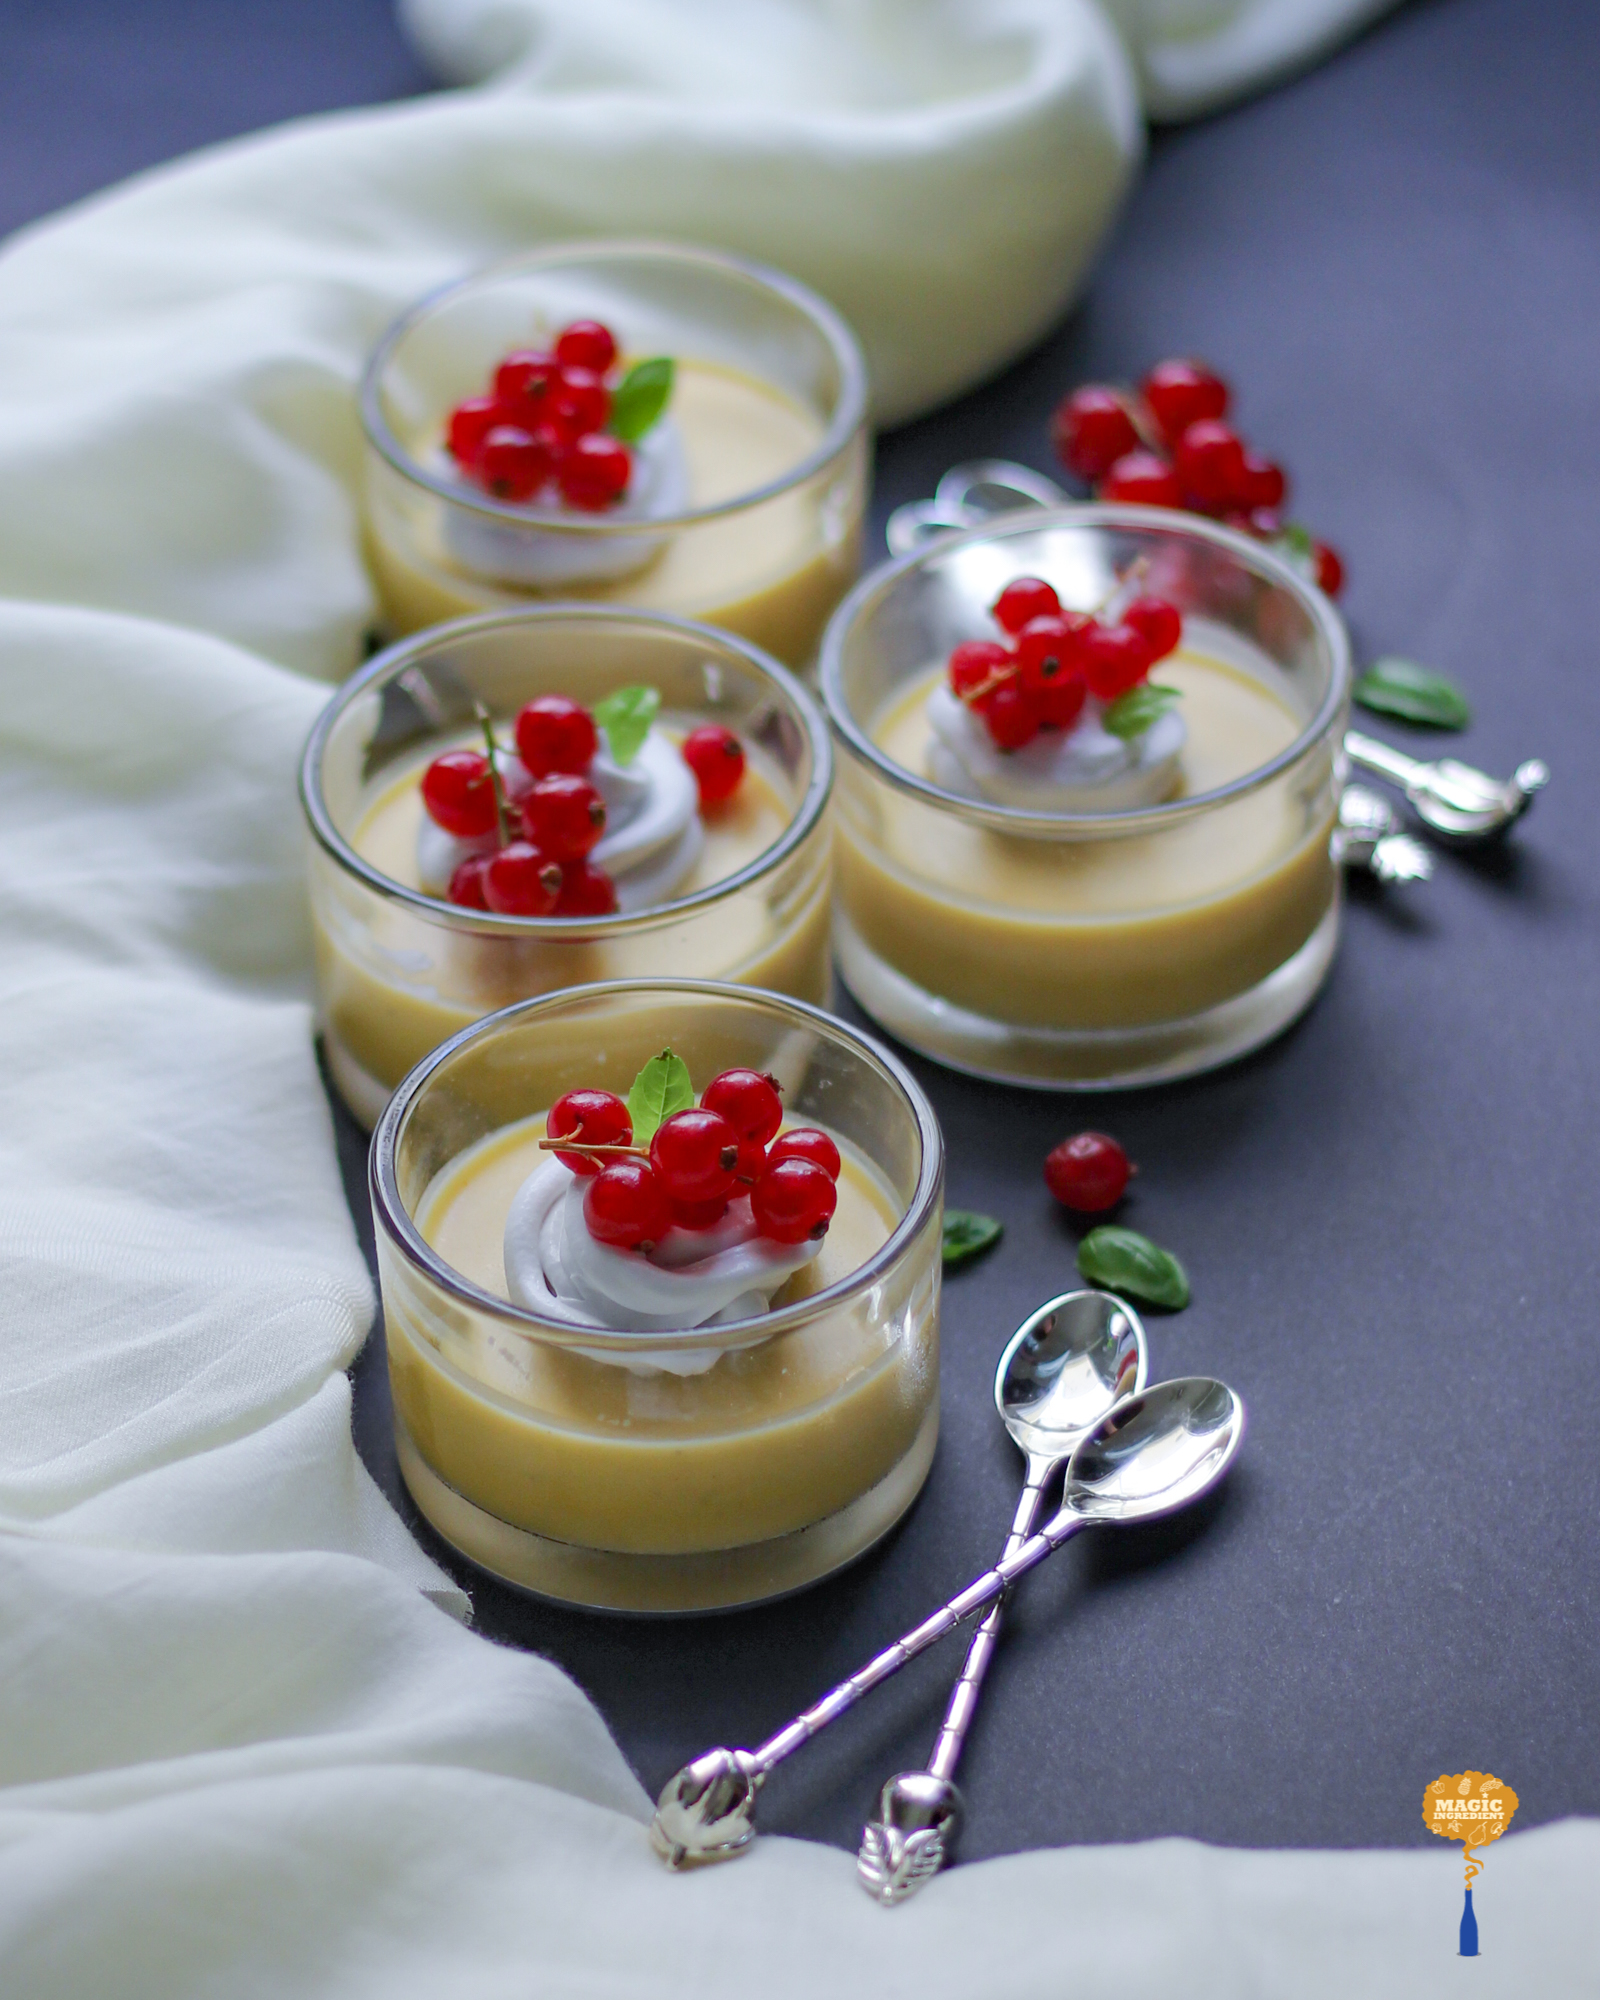
I tend to go mostly with my instinct. Sometimes the colors and appeal of the dish help me decide. There are no rules to it. There was one incident when I had changed the board in the middle of the shoot. And it worked.
A couple of extra white foamboards can help you take vertical shots of cakes, sandwiches, etc. And they can double up as reflectors to direct light towards your dish. I also keep a neutral-colored chart paper to hang behind your plate to cover the wall behind if you have a neutral-colored wall that works perfectly too.
I hope these tips help you take the baby steps with confidence and trust your instinct.
Discover more from Magic Ingredient
Subscribe to get the latest posts sent to your email.

One comment