 Posted by
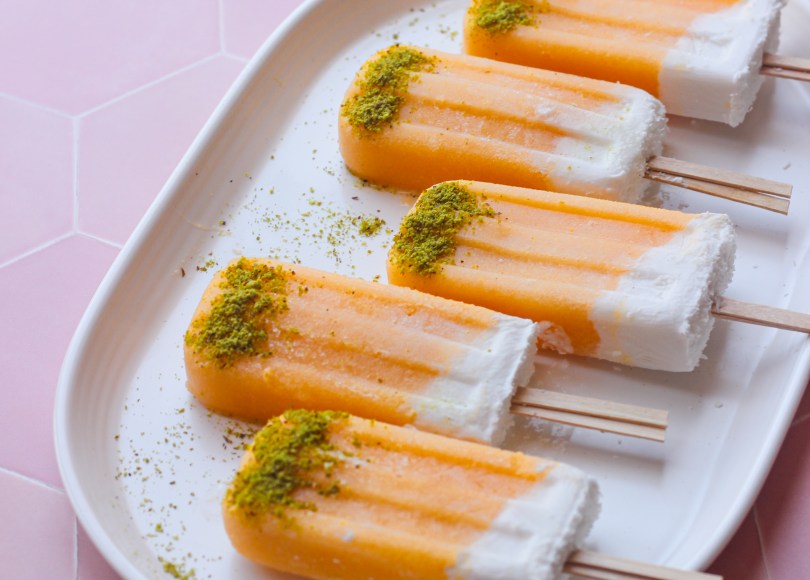
 Muskmelon is one of those fruits that feels made for summer. It is soft, fragrant, naturally sweet, and beautiful in colour. Recently, I made a simple smoothie at home using muskmelon and coconut milk, and the combination was so light and refreshing that I knew it had to become a frozen dessert.
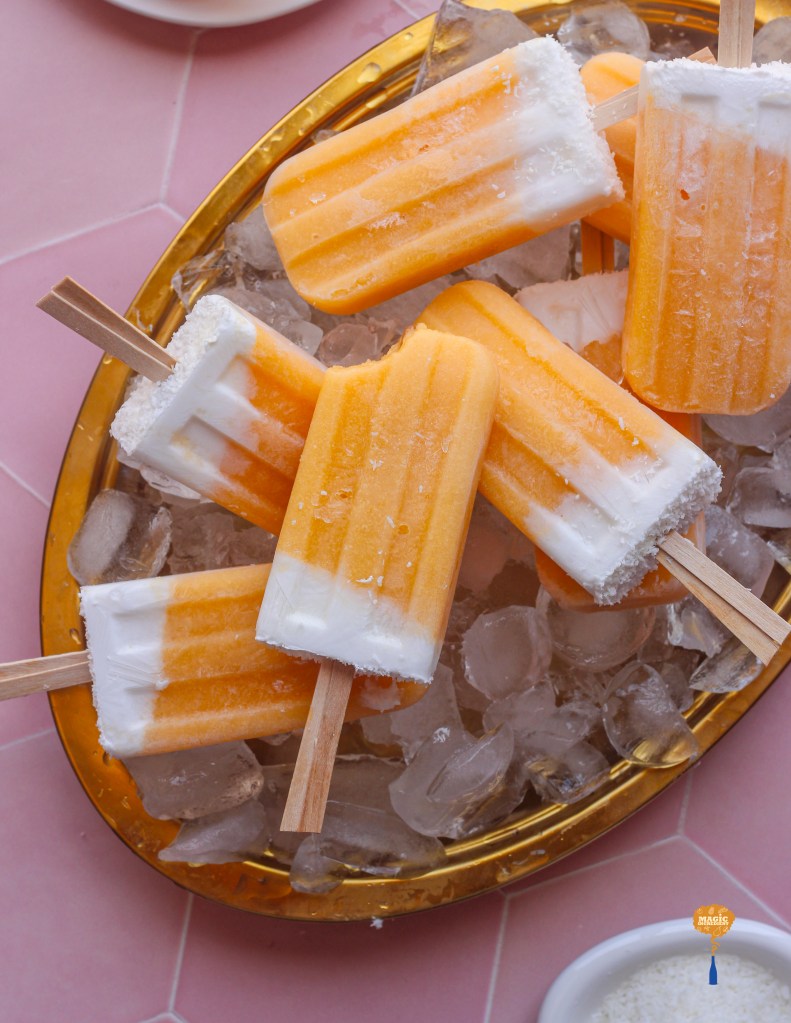
These muskmelon coconut popsicles are creamy, fruity, and perfect for warm days. The coconut milk gives them a smooth texture, while the melon keeps the flavour fresh and delicate. As a food stylist in the UAE, I love working with frozen desserts because they teach patience, timing, and preparation. Popsicles, ice creams, and ice lollies look effortless on camera, but behind the scenes, they need planning. Real ice melts fast, frozen desserts soften quickly, and every minute matters.
If fake ice is not available, there are still simple ways to create a beautiful frozen dessert setup at home.
Ingredients
Makes around 6-8 popsicles, depending on the mould size.
For the Muskmelon Coconut Popsicles
- Ripe muskmelon, peeled and chopped 2 cups
- Coconut milk 1 cup
- Coconut cream ½ cup
- Sugar, honey, or maple syrup, adjust to taste, 2–3 tablespoons
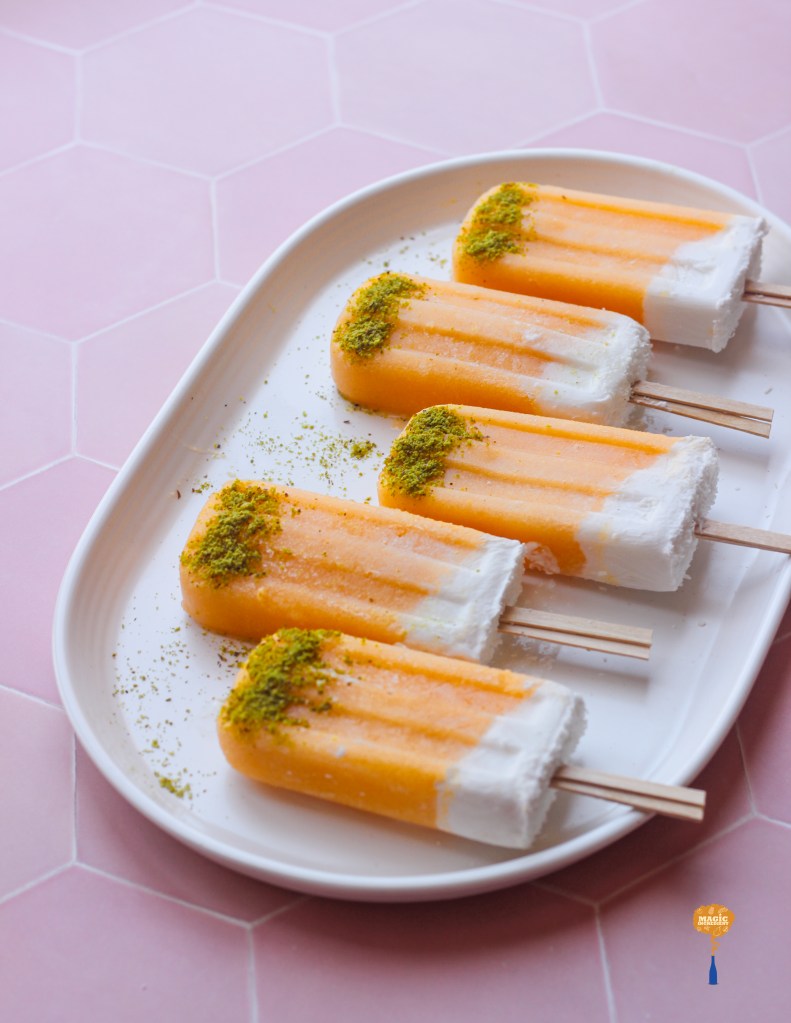
- Pistachio powder 1 teaspoon
Method
- Add the chopped muskmelon to a blender.
- Pour in the coconut milk.
- Add sugar or honey, and a small pinch of salt.
- Blend until smooth and creamy.
- Taste the mixture. Since freezing slightly reduces sweetness, the mixture should taste a little sweeter than a regular smoothie.
- Pour the mixture into popsicle moulds.
- Insert sticks and freeze for at least 6–8 hours, or overnight. Tilt them at an angle to get a slanted layer. After 4 hours, pour the coconut cream slightly sweetened with honey or sugar. Sprinkle desiccated coconut and let it freeze overnight.
- To unmould, dip the mould briefly in room-temperature water for a few seconds. Gently pull out the popsicles.
- Place the unmoulded popsicles on a lined tray and freeze again for a few minutes before serving or shooting.
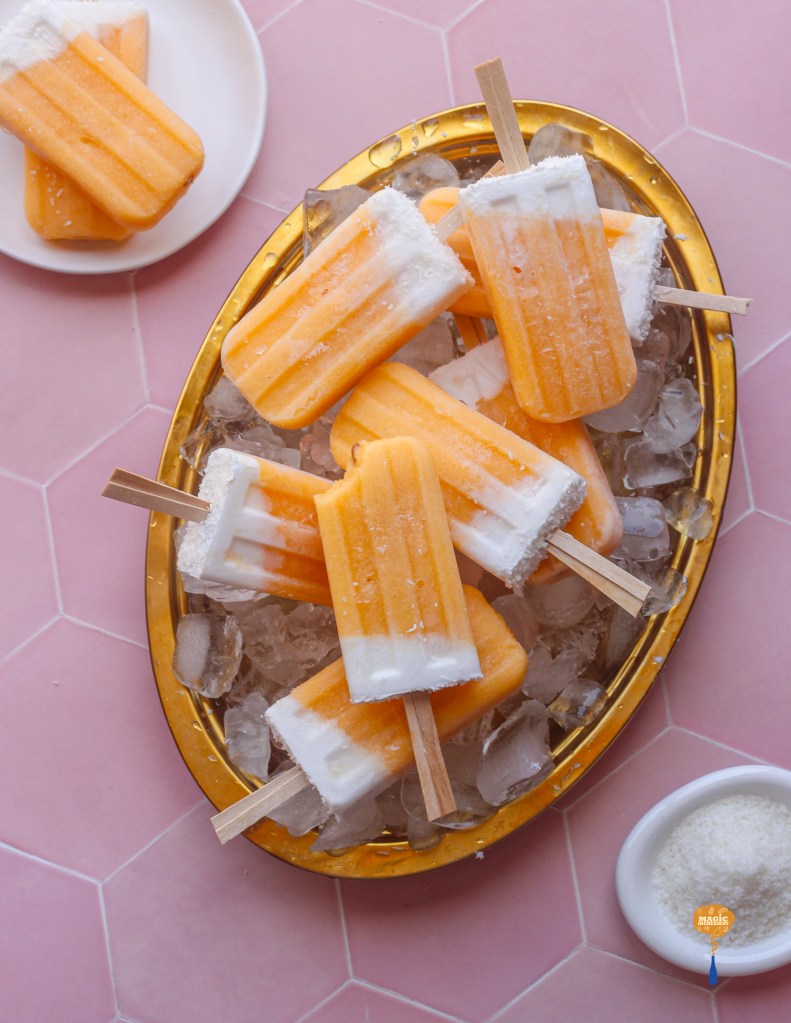
Food Styling Tip: How to Shoot Popsicles with Real Ice
Shooting frozen desserts at home can feel difficult, especially when fake ice is not available. Real ice melts quickly under lights, near windows, or even in an air-conditioned room. The trick is to prepare everything in layers and freeze as much as possible before the final shot.
One of my favourite tips for getting ice shards rather than cubes is to freeze a large block of ice in a brownie tin.
Simple Real Ice Styling Workflow
- Freeze a large block of ice in a brownie tin.
- Break the ice into natural-looking chunks.
- Arrange the ice on your chosen tray or plate.
- Freeze the arranged ice again.
- Unmould the popsicles separately.
- Freeze the popsicles again after unmoulding.
- Place the popsicles over the ice and freeze briefly once more.
- Set up your camera, background, garnish, and lighting first.
- Bring the frozen setup out only when ready to shoot.
Why Food Styling Matters for Frozen Desserts
Frozen desserts require more than a good recipe. They need timing, surface preparation, temperature control, and a clear visual plan. Commercial ice cream and frozen dessert shoots often involve more advanced styling techniques, substitutions, and longer preparation times. But even at home, small planning steps can make a big difference.
A food stylist can make life easier for the chef, photographer, and client by understanding how food behaves on set. With frozen desserts, that knowledge becomes even more important. Knowing when to freeze, when to unmould, how to arrange, and how to manage melting can save time and protect the final image.
In my upcoming tutorials, I’ll be sharing more tips on creating fake ice, styling ice creams, and working with frozen desserts for more professional-looking food photography. Stay tuned.
Discover more from Magic Ingredient
Subscribe to get the latest posts sent to your email.

