
Let’s talk about lighting in food photography, more precisely on the quality of light often categorized as hard and soft light. A good understanding of light will always help you take better photographs. I have always banked on using natural light for my pictures. So, what follows are my insights on the same.
Food photographers love to experiment with light. However, as a general thumb rule, food looks better in soft light. And honestly, as a beginner, it’s better to shoot in soft light. As you grow confident, you may experiment with different light settings.
In a backlight shot, the light source at the back of the subject. You may place your food next to a light source (window) and take the shot standing precisely opposite to the source. Whereas in sidelight, the source is on the side of the subject. I honestly don’t have a favorite, as I tend to use both a lot. However, I always prefer sidelight for layered food in glass and straight on shots for cakes, pancakes stack, etc. A backlight would not do justice to the layers; I usually choose backlight for a flat lay. Now take a look at the pictures shared below. Can you guess which one is a side-lit and which is a back-lit photo?
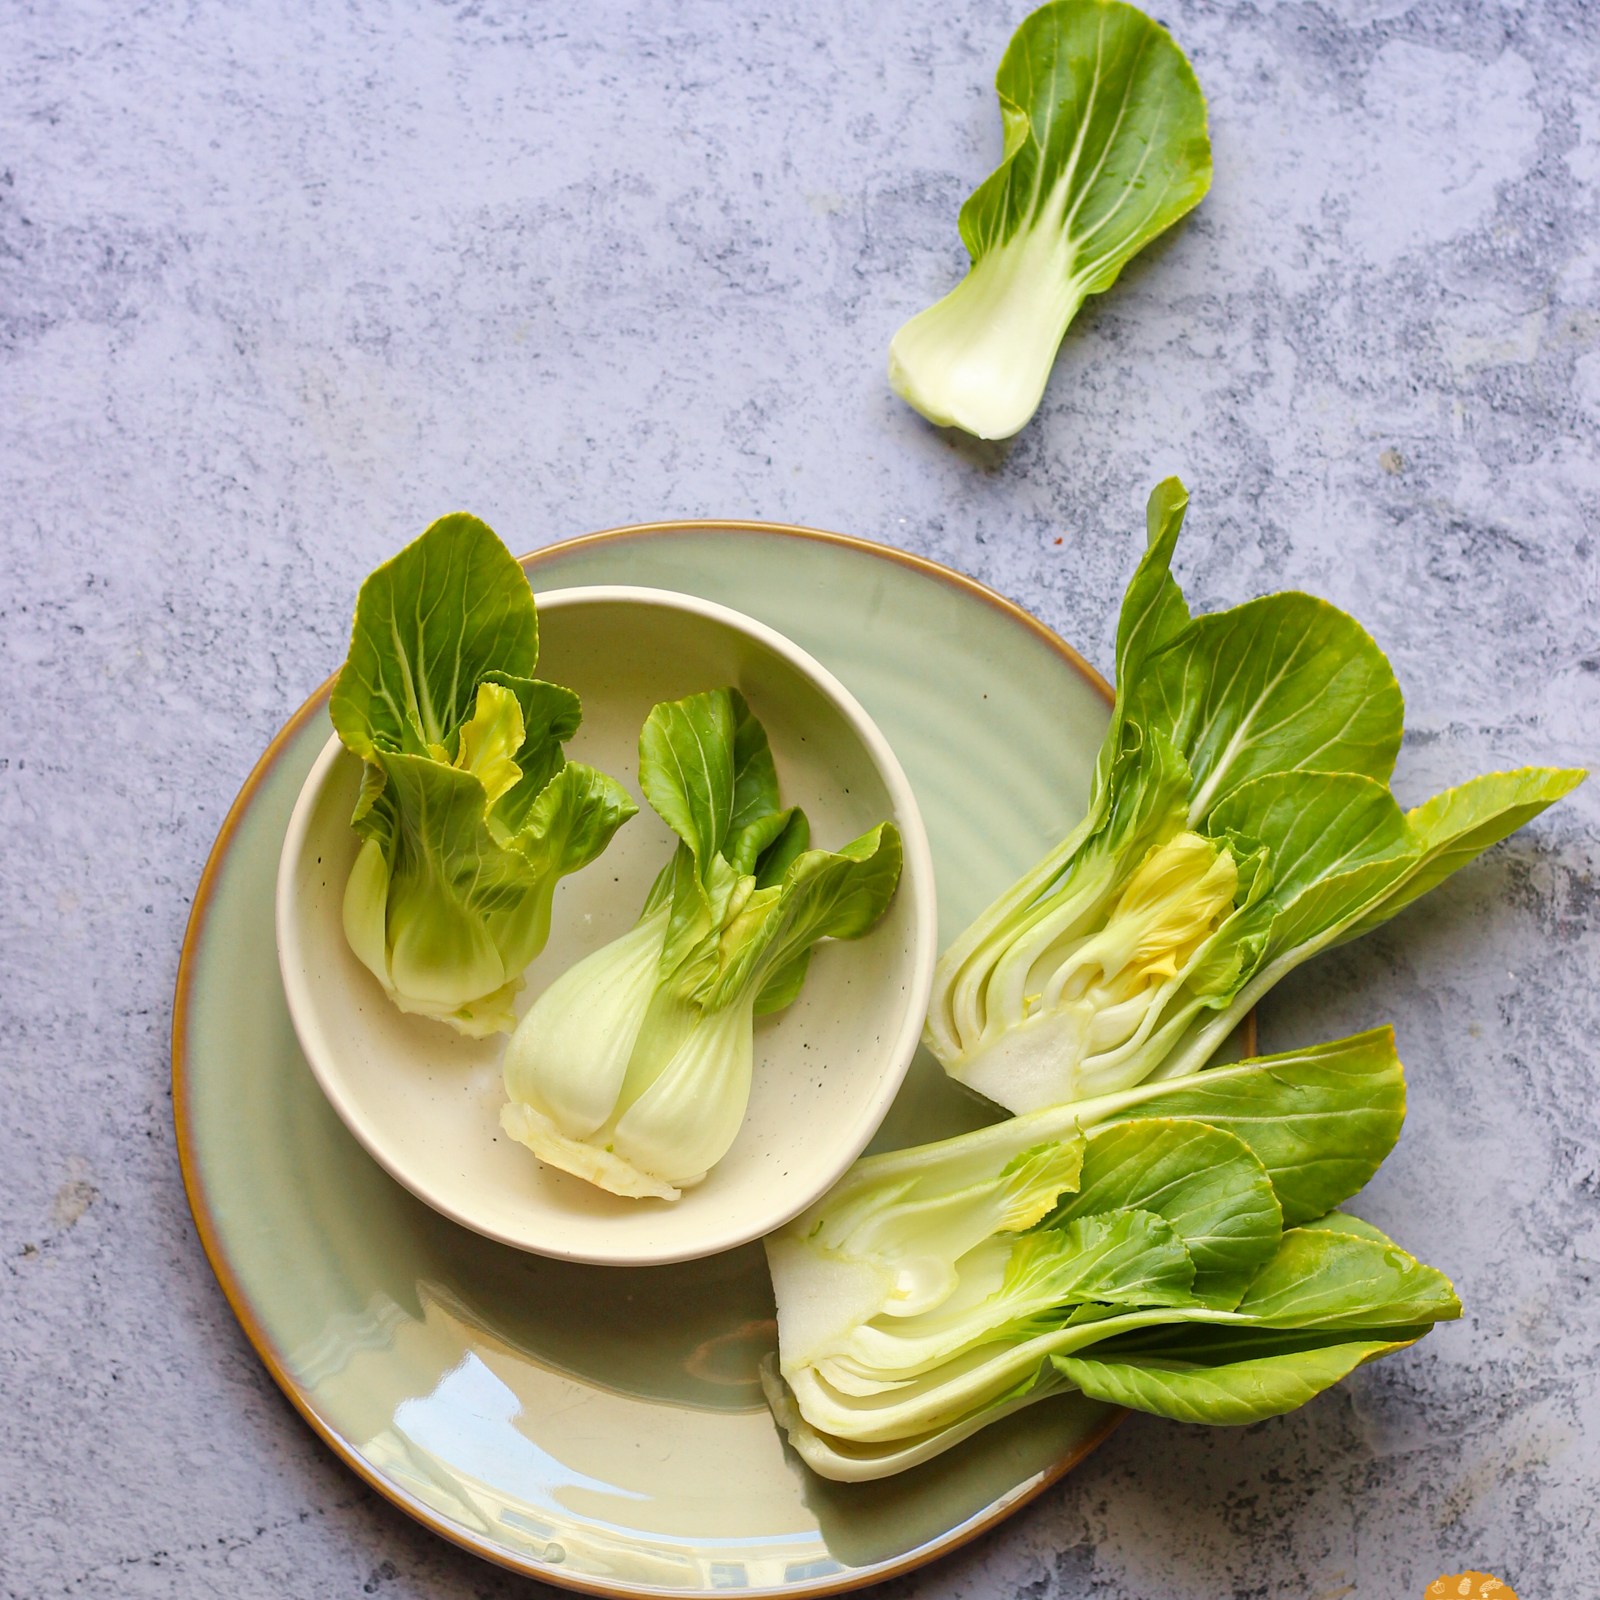

The easiest way to find out is to observe the shadows. In a backlight shot, the shadows will be towards the photographer.
To get a better understanding, I would ask you to choose a subject and take pictures in natural light using the above two ways of lighting. Your choice of lighting might vary with the subject, angle of photography, and the way you choose to style.
My tip: If possible, try to shift your setup and get a backlight shot and a sidelight shot for the same dish. And have fun!!!
Discover more from Magic Ingredient
Subscribe to get the latest posts sent to your email.

One comment