
As a food stylist, I know how crucial it is to keep the garnish fresh and perfect. And when I say garnish, I mean the herbs, microgreens, fruits, flowers, etc. In the beginning, during a shoot, I would rush to my nearest grocery when the garnish would wilt. And wilted or discolored herbs do not make great pictures.
Apart from learning how to preserve them, I had to start growing my herbs and microgreens. And let me tell you one thing, growing your herbs and microgreens not only saves bucks but makes sure you have fresh garnish all the time. It is not possible to grow everything but the ones you need regularly.
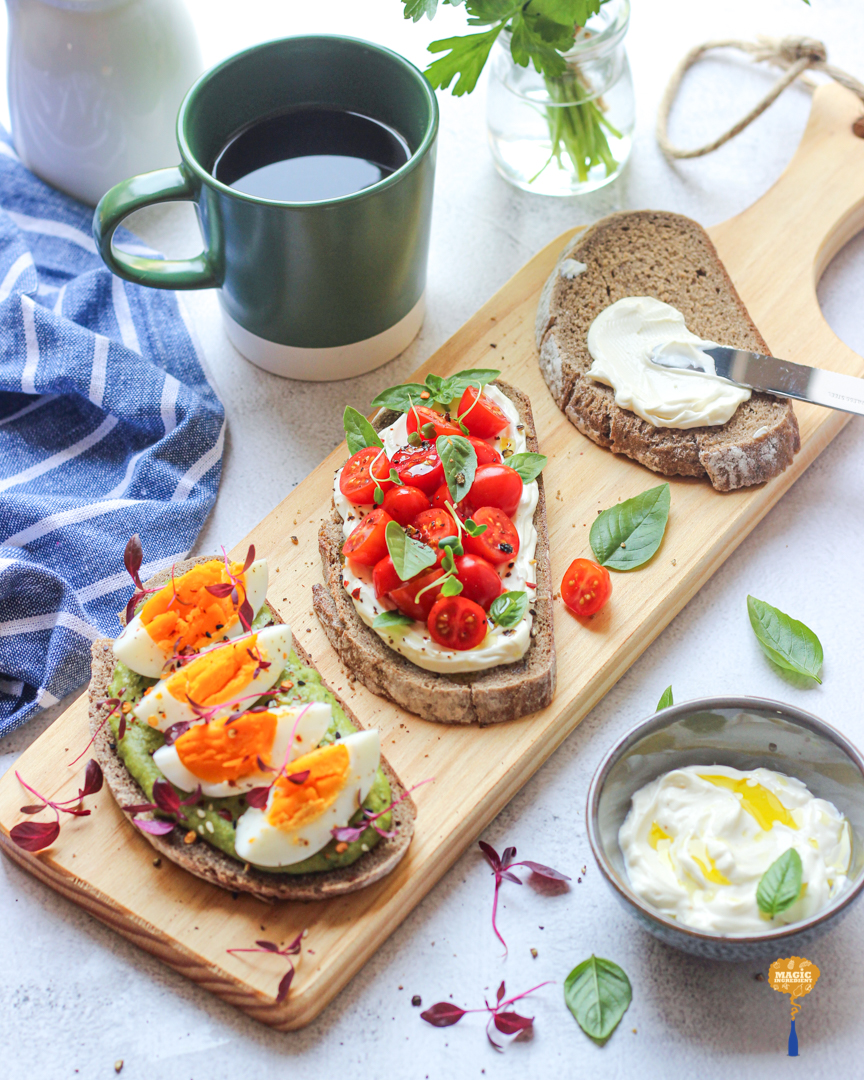
Microgreens are older sprouts. Sprouts are grown without growing medium and are eaten with roots and all. On the other hand, Microgreens are cultivated in a growing medium and harvested at the base and consumed. This blog is focused on how to grow and preserve microgreens in general.
What you will need?
You will need a medium. I prefer a mixture of potting soil, perlite, and compost. I keep the soil moist and spray every day. Take care to avoid making it soggy.
Instead of buying expensive seeds, use what is available at home, to begin with. I use fenugreek seeds, mustard seeds, pea, lentils, etc. Shallow trays with holes at the bottom and a cover work great. I tend to recycle the takeaway trays, which come with a lid.
How to grow?
Most seeds can be directly placed over the medium, whereas some need to be soaked in water.
Place the seeds over the medium in a layer and cover. Water with a spray regularly. The microgreens will be ready for harvest in 7 – 14 days (depending upon the seeds).
How to store?
Once harvested, microgreens will need to be washed and then stored in a plastic container in the fridge to keep up to 4-5 days. I usually immerse the microgreens in a bowl of cool tap water and gently shake off the dirt. For better storage results, keep the microgreens in a container with air holes.
I hope this helps to get you started. The upcoming blog posts will share more details on how to grow microgreens at home.
Discover more from Magic Ingredient
Subscribe to get the latest posts sent to your email.

So vibrant! Those little greens are great and tasty garnish.
LikeLiked by 1 person
I agree with you. LOve them
LikeLiked by 1 person
Great presentation and tips 👍
LikeLiked by 1 person
Thank you so much
LikeLiked by 1 person